So you've finished a project! Congratulations! Whether it's a single small granny square or a massive blanket, one thing will be the same: You'll have at least two bits of yarn dangling off that you need to do something about. Some projects will have lots of bits of yarn dangling off, especially if you have a lot of small squares or you change colors often (more on both of those in later posts). Regardless of how many dangling ends you have, they all are dealt with the same way: you need to weave them into your work.
It's very tempting to just tie a knot at the end of a project and snip off the end, but that's not a good idea. There are two reasons to this: (1) a big knot can show in your work and cause an unpleasant bump and (2) if the knot ever works itself loose your entire project can unravel. The last thing you want is for all of your hard work to come undone. The solution to both problems is to simply weave in the ends. In the video I link here, I used a yarn needle. You can get these in metal or plastic for a few dollars at most craft stores. If you don't have a yarn needle, that's ok! You can still do this with just a crochet hook.
Start by cutting your yarn a good four or five inches away from your project and pulling the end all the way through the last stitch you made. This should create a sort of knot, so you can pull on the end of the yarn without everything unraveling.
Next, thread your yarn needle and pass the needle through some of your stitches (or use your crochet hook to pull the yarn through some of your stitches).
When you've done this several times, you can cut off your yarn close to the project. You usually want to weave in at least two inches of yarn into your project to prevent any misfortune from happening.
Now that you know how to do a slip knot, a chain stitch, a slip stitch, and a double crochet, it's time to put them all together into our first project: the granny square. Often people will make a lot of small granny squares of different colors, then sew them together into a blanket. You can also make one very large granny square to make a square blanket.
I've uploaded videos in three parts: round one, round two, and round three and beyond.
First, start by chaining five.
Slip stitch into the first chain to make a ring.
Chain three.
Now double crochet twice into the ring. This will make one side of your granny square.
To make a corner, chain three.
Now we want to make side two. Do this by double crocheting three times into the ring.
Make another corner by chaining three and another side by double crocheting three into the ring.
Make your final corner and side by chaining three and double crocheting three.
Now we need to bring it all together. Chain three for the final corner. Then, looking carefully at that very first chain three you did to get away from the ring, you want to slip stitch into the top of that chain.
That's round one! Now on to round two.
Start by chaining three. Again, this gets you far enough away from the previous part to do a double crochet. At this point, I turned my square around so I was looking at the back. This is optional and entirely personal preference.
Look at the big open space of the corner. Double crochet twice into this open space.
We need to turn the corner for this round, too, so chain three.
Double crochet three times into the same open space. That's one corner of this round.
Now we need to skip over this bunch of double crochets so we can get to the next corner. Do this by chaining one.
You've reached a new corner, so double crochet three times into the corner's open space.
Finish this corner by chaining three and double crocheting three more times into the same space.
Chain one so we can reach the next corner. I don't have pictures for the rest of this round, unfortunately.
Do the next two corners the same way as the first two: double crochet three, chain three, double crochet three, and chain one to stretch to the next open space.
When you get back to where you started, look at that very first chain three you did. Slip stitch into the top of that to close the round.
That's round two! Onto round three. This is the last round I have instructions for, but round four, five, six, and so on will all be done the exact same way as round three.
Start once more by chaining three. Again, I turned my project around here, but again that's just personal preference.
You'll notice that now along with all the open space at the corners, there's open space in the sides, too. Start by double crocheting twice into this open side space.
Now we need to get to the corner. Chain one to skip over all of the stitches from the previous round and complete the corner the same way we did before: double crochet three, chain three, and double crochet three more.
Chain one to reach the next open side space and double crochet three times into the open side space.
Chain one to reach the next corner and go all the way around the square like this.
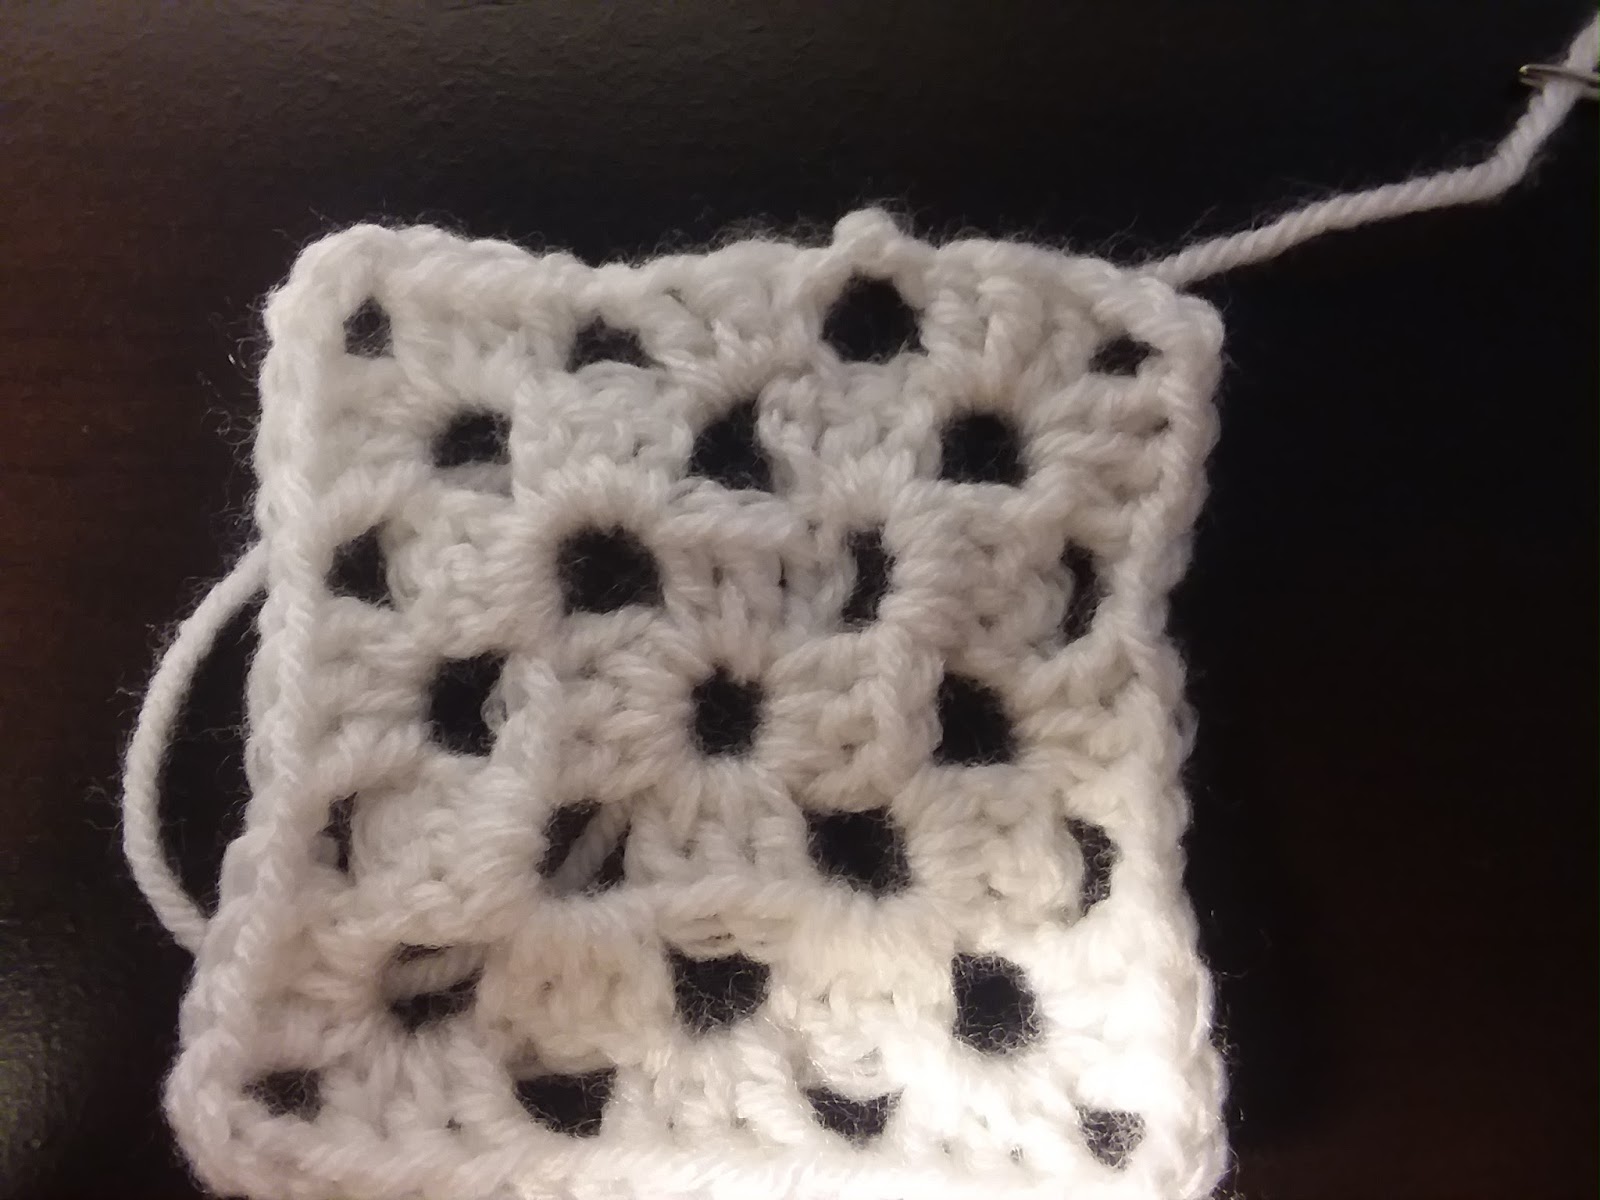
When you get back to where you started, look at the very first chain three you did and slip stitch into the top of it to close the round.
That's round three! If you want to do more rounds, just follow the same directions: every corner gets three double crochets, three chains, and three more double crochets. Every bunch of stitches from previous rounds gets skipped over with one chain. Every side space gets three double crochets. When you're entirely done, cut the yarn (leave a few inches) and pull it all the way through your last stitch.
The double crochet is the last stitch we need to learn to make a granny square.
Start with the ring of chain stitches that we made back in the previous post. You'll need to start by making three more chain stitches. This brings us far enough away from the ring that we can do a double crochet.
Now wrap the yarn around the hook.
Being careful not to drop that wrapped yarn, push the hook into the middle of the ring.
Grab the yarn with the hook.
Pull the yarn back through the ring. You now have three loops of yarn on your hook.
Grab the yarn and pull it through the first two loops on the hook. You should now have two loops of yarn still on the hook.
Grab the yarn again and pull it through both loops on the hook. You should now have one loop of yarn still on the hook.
Now that you have a chain, let's connect the ends to form a loop. We do this using a slip stitch.
Start with a chain made up of five chain stitches.
Now you'll want to pick up the very first chain stitch, all the way on the other end from your hook. Push the hook through this stitch. It doesn't matter where in the stitch you push the hook, as long as your hook goes all the way through. You have two loops of yarn on your hook.
Now grab the working end of the yarn with your hook.
Pull the yarn all the way through both loops on your hook. Pull on the working end of the yarn a little to tighten it.
Voila! You now have one loop of yarn on your hook and a ring made up of chain stitches. It's a little ugly looking right now, but don't worry. It'll get better as we work.
Now that you have your yarn attached to your hook with a slip knot, it's time to learn your fist stitch. Most patterns that are worked back and forth in rows will begin with a foundation chain, or a series of chain stitches on which you will build your crochet pattern. Some patterns which are worked in circles or rounds will also use a chain, with the ends connected to make a loop. Let's get started.
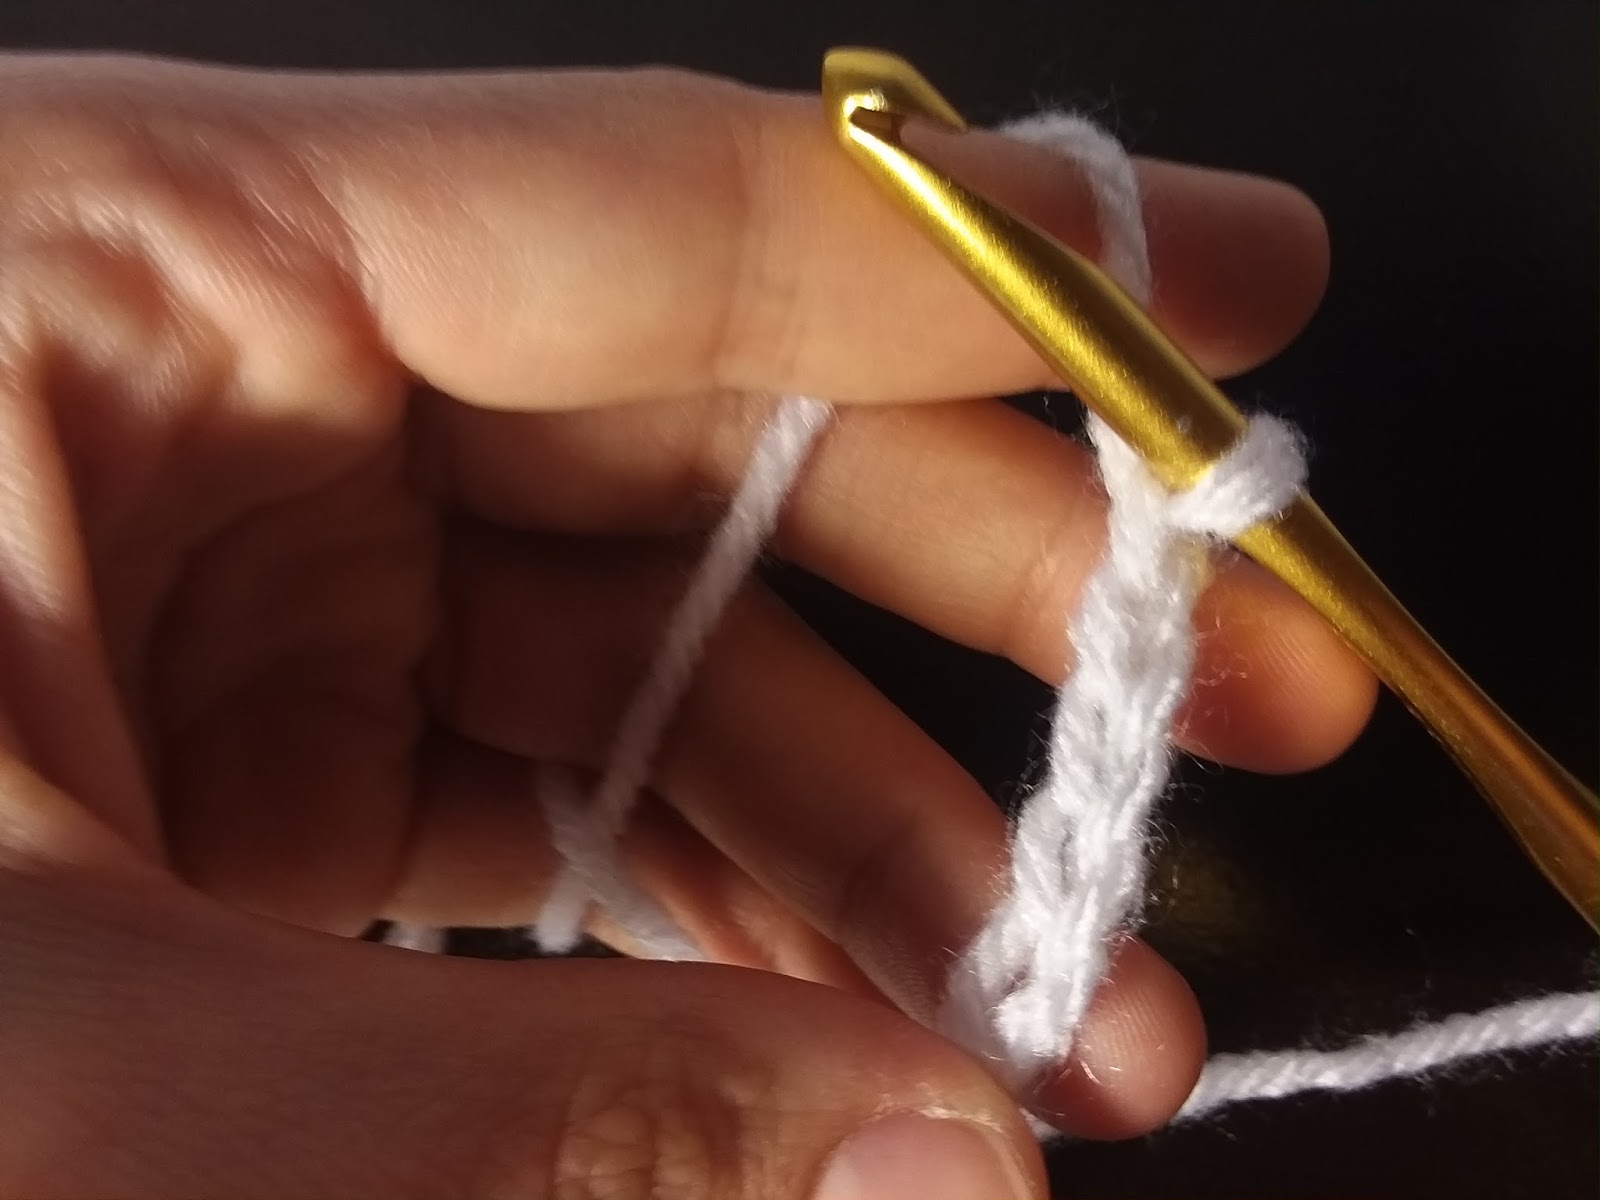
To make a chain stitch, start with a hook that already has a slip knot on it. I'm right handed, so I like to hold the hook in my right hand and the working end of the yarn in my left. How you hold the yarn is up to you, but I feel like I have the most control when I hold the working end of the yarn with my ring and pinkie fingers and let my index finger keep the yarn nice and taut. I use my middle finger and thumb to hold the slip knot that's on the hook in place.
Use the hook to grab the working end of the yarn.
Pull the hook and the working end of the yarn through the slip knot.
You now have one loop of yarn on your hook and one dangling off your hook. You've made one chain stitch!
Repeatedly use the hook to grab the yarn and pull it through the loop on the hook to make a long chain.
You're done! Next post, we'll learn how to join a chain into a loop so that we can eventually make a granny square, which is a short crochet project worked in rounds.
It might seem strange to have an entire post about the slip knot, but this is the starting point for any crochet project you will ever do, so it's very important. The slip knot is how you attach the yarn to your hook to begin crocheting in the first place. It's also a good place to learn our first two terms: the tail end and the working end of the yarn. The tail end of the yarn is the few inches that will dangle off the beginning of your project. At the very end, you'll weave this tail in to hide it, either with your hook or with a yarn needle (more on this in a later post). The working end of the yarn is the part of the yarn that connects your project to the ball or skein -- the yarn you're working with. So let's get started making our slip knot.
Here's a video, as well as pictures and written instructions.
I'm right handed, so I'm going to pick up the yarn a few inches from the end with my left hand, so the tail is poking out by my pinkie and the working end is coming out by my thumb.
With my right hand, I'm going to wrap the working end of the yarn loosely around my left index finger to make a loop. Notice that the working end of the yarn passes in front.
Now I'm going to pull my left index finger back to pinch the loop closed. The loop should be nice and open and nothing should be covering it now.
Next, I'll pick up my crochet hook in my right hand and push the hook through the loop from the front. That means I'm pushing the hook away from myself to go through the loop.
I'm going to use the hook now to grab the working end of the yarn. This is very important! Make sure you grab the working end and not the tail end!
Next, I'll pull the hook back towards myself so the working end of the yarn comes through the loop.
Finally, I'll pull on both ends of the yarn to tighten the knot and form a loop of yarn around the crochet hook.
And that's it! You now have a slip knot on your hook, ready to start a beautiful crochet project!