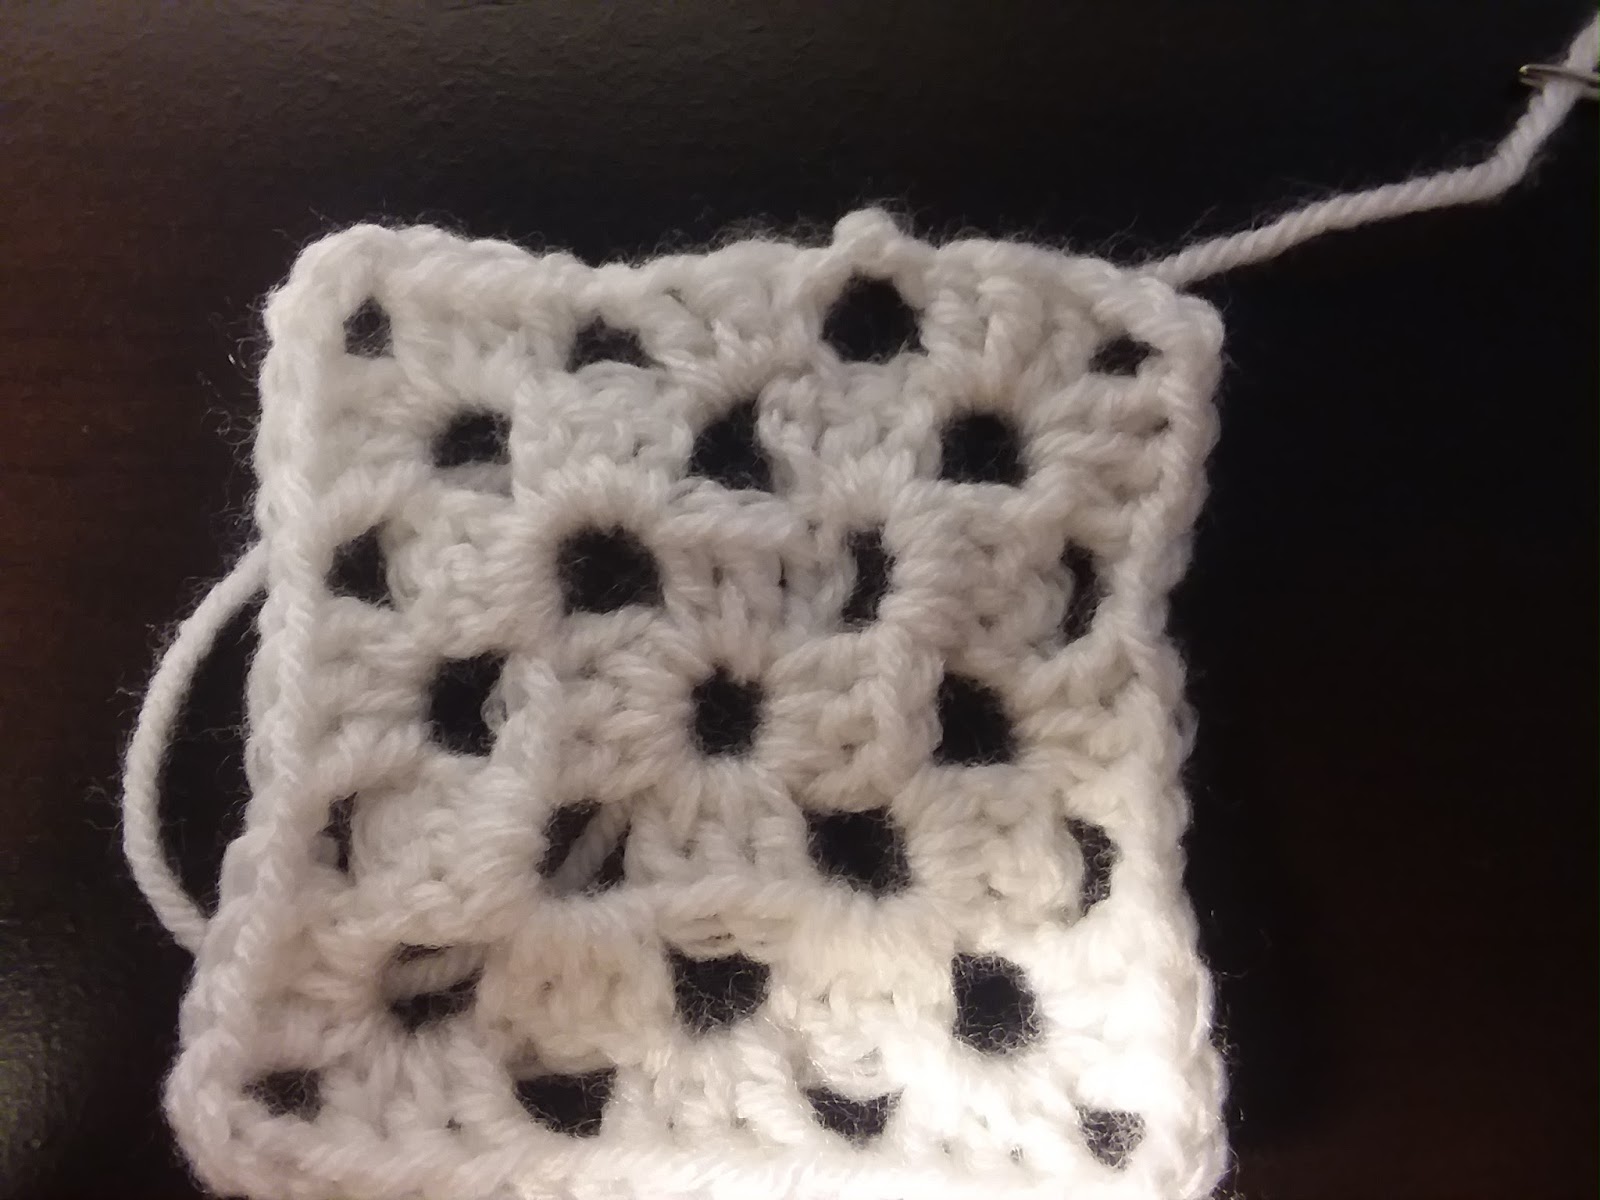
It's very tempting to just tie a knot at the end of a project and snip off the end, but that's not a good idea. There are two reasons to this: (1) a big knot can show in your work and cause an unpleasant bump and (2) if the knot ever works itself loose your entire project can unravel. The last thing you want is for all of your hard work to come undone. The solution to both problems is to simply weave in the ends. In the video I link here, I used a yarn needle. You can get these in metal or plastic for a few dollars at most craft stores. If you don't have a yarn needle, that's ok! You can still do this with just a crochet hook.
Start by cutting your yarn a good four or five inches away from your project and pulling the end all the way through the last stitch you made. This should create a sort of knot, so you can pull on the end of the yarn without everything unraveling.
Next, thread your yarn needle and pass the needle through some of your stitches (or use your crochet hook to pull the yarn through some of your stitches).
When you've done this several times, you can cut off your yarn close to the project. You usually want to weave in at least two inches of yarn into your project to prevent any misfortune from happening.


No comments:
Post a Comment